Introducing Keycloak for Identity and Access Management
This article is the first of a series where I'd like to introduce Keycloak as a solution to manage authentication and authorization, how to install it and which are the fundamental concepts and configurations.


This article is the first of a series where I'd like to introduce Keycloak as a solution to manage authentication and authorization, how to install it and which are the fundamental concepts and configurations.
Then I'd like to explain how to use it to secure Spring Boot, Spring Security and Angular applications and services, analyse the implementation when using a relational database to store users and finally how to manage users from Java thanks to the Admin REST API.
1. What is Keycloak?
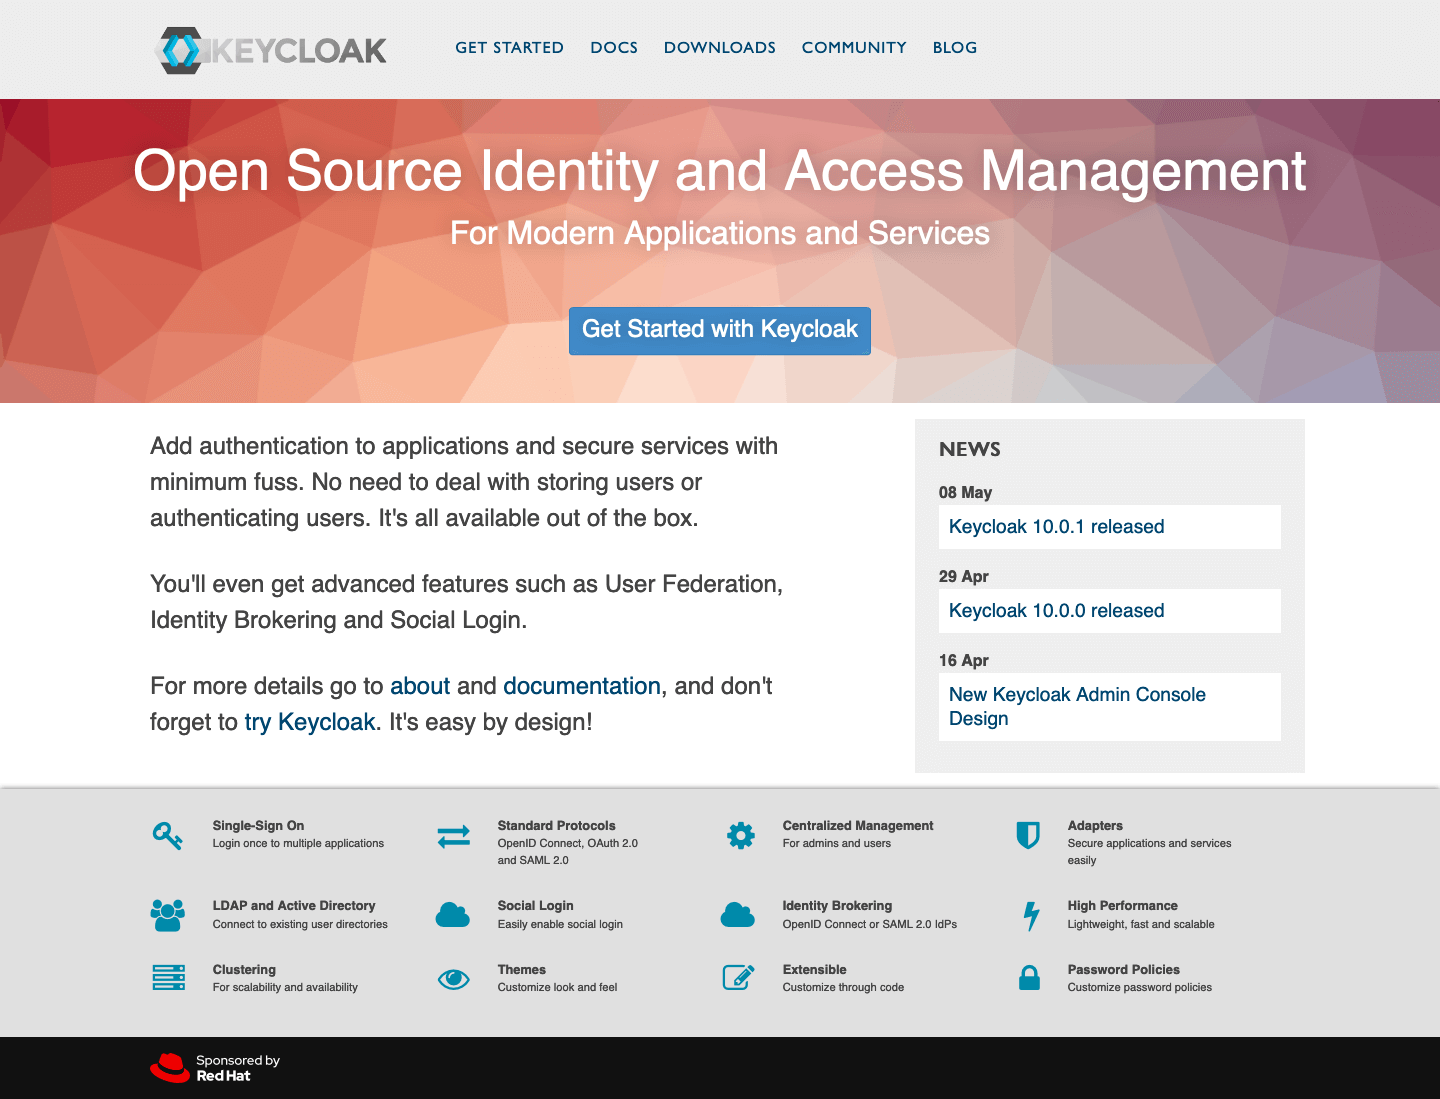
Keycloak is an open source project developed and maintained by the RedHat Community.
"Keycloak is an open source Identity and Access Management solution aimed at modern applications and services. It makes it easy to secure applications and services with little to no code."
It offers a broad set of features, like SSO, authentication and authorization, social login, multifactor authentication and centralised user management. I suggest you check the official documentation to get all the details.
Throughout this series we'll make use of the following features:
- Admin Console to configure the Keycloak server and create realms, roles, users and clients;
- Single Sign-On (SSO) using the Open ID Connect (OIDC) authentication protocol on top of OAuth 2.0;
- Client Adapters to integrate Spring Boot, Spring Security and Angular with Keycloak;
- Admin REST API for user management.
2. Installing and Booting Keycloak
After a quick introduction to this series of posts and Keycloak, let's see how to install and boot Keycloak.
2.1 Installing and booting Keycloak from server distribution
We can download the Keycloak Server from the official website. I'm using the latest release of the standalone server distribution, which is the 10.0.1 version at the moment of the writing.
Let's extract the folder from the zip (or tar) archive: it contains all we need to run the Keycloak server.
From the bin/ directory of the Keycloak distribution, we can boot the Keycloak server by running either the standalone.sh script (macOS and Linux) or the standalone.bat file (Windows). The Keycloak server will be reachable on our host 8080 port by default, but we can define a custom port by setting the optional jboss.socket.binding.port-offset property to a value that the script will add to the default port.
On macOS or Linux, we can open a Terminal prompt and run:
bin/standalone.sh -Djboss.socket.binding.port-offset=100On Windows, we can boot Keycloak by running this command on a Command Prompt terminal:
bin/standalone.bat -Djboss.socket.binding.port-offset=100In this example, the URL of the Keycloak server will be http://localhost:8180.
2.2 Installing and booting Keycloak as a Docker container
We can also run Keycloak in a Docker container, relying on the official Docker image.
From a Terminal window, you can run a Keycloak Docker container with the following command.
docker run -e KEYCLOAK_USER=admin -e KEYCLOAK_PASSWORD=password -p 8180:8080 --name keycloak-server -d jboss/keycloak:10.0.1If you prefer using Docker Compose, here it is an example of definition you can use.
version: '3.7'
services:
  keycloak:
    image: "jboss/keycloak:10.0.1"
    container_name: "keycloak-server"
    environment:
      - KEYCLOAK_USER=admin
      - KEYCLOAK_PASSWORD=password
    ports:
- "8180:8000"You can then go ahead and start Keycloak with Docker Compose.
docker-compose -d up3. First Access to Keycloak
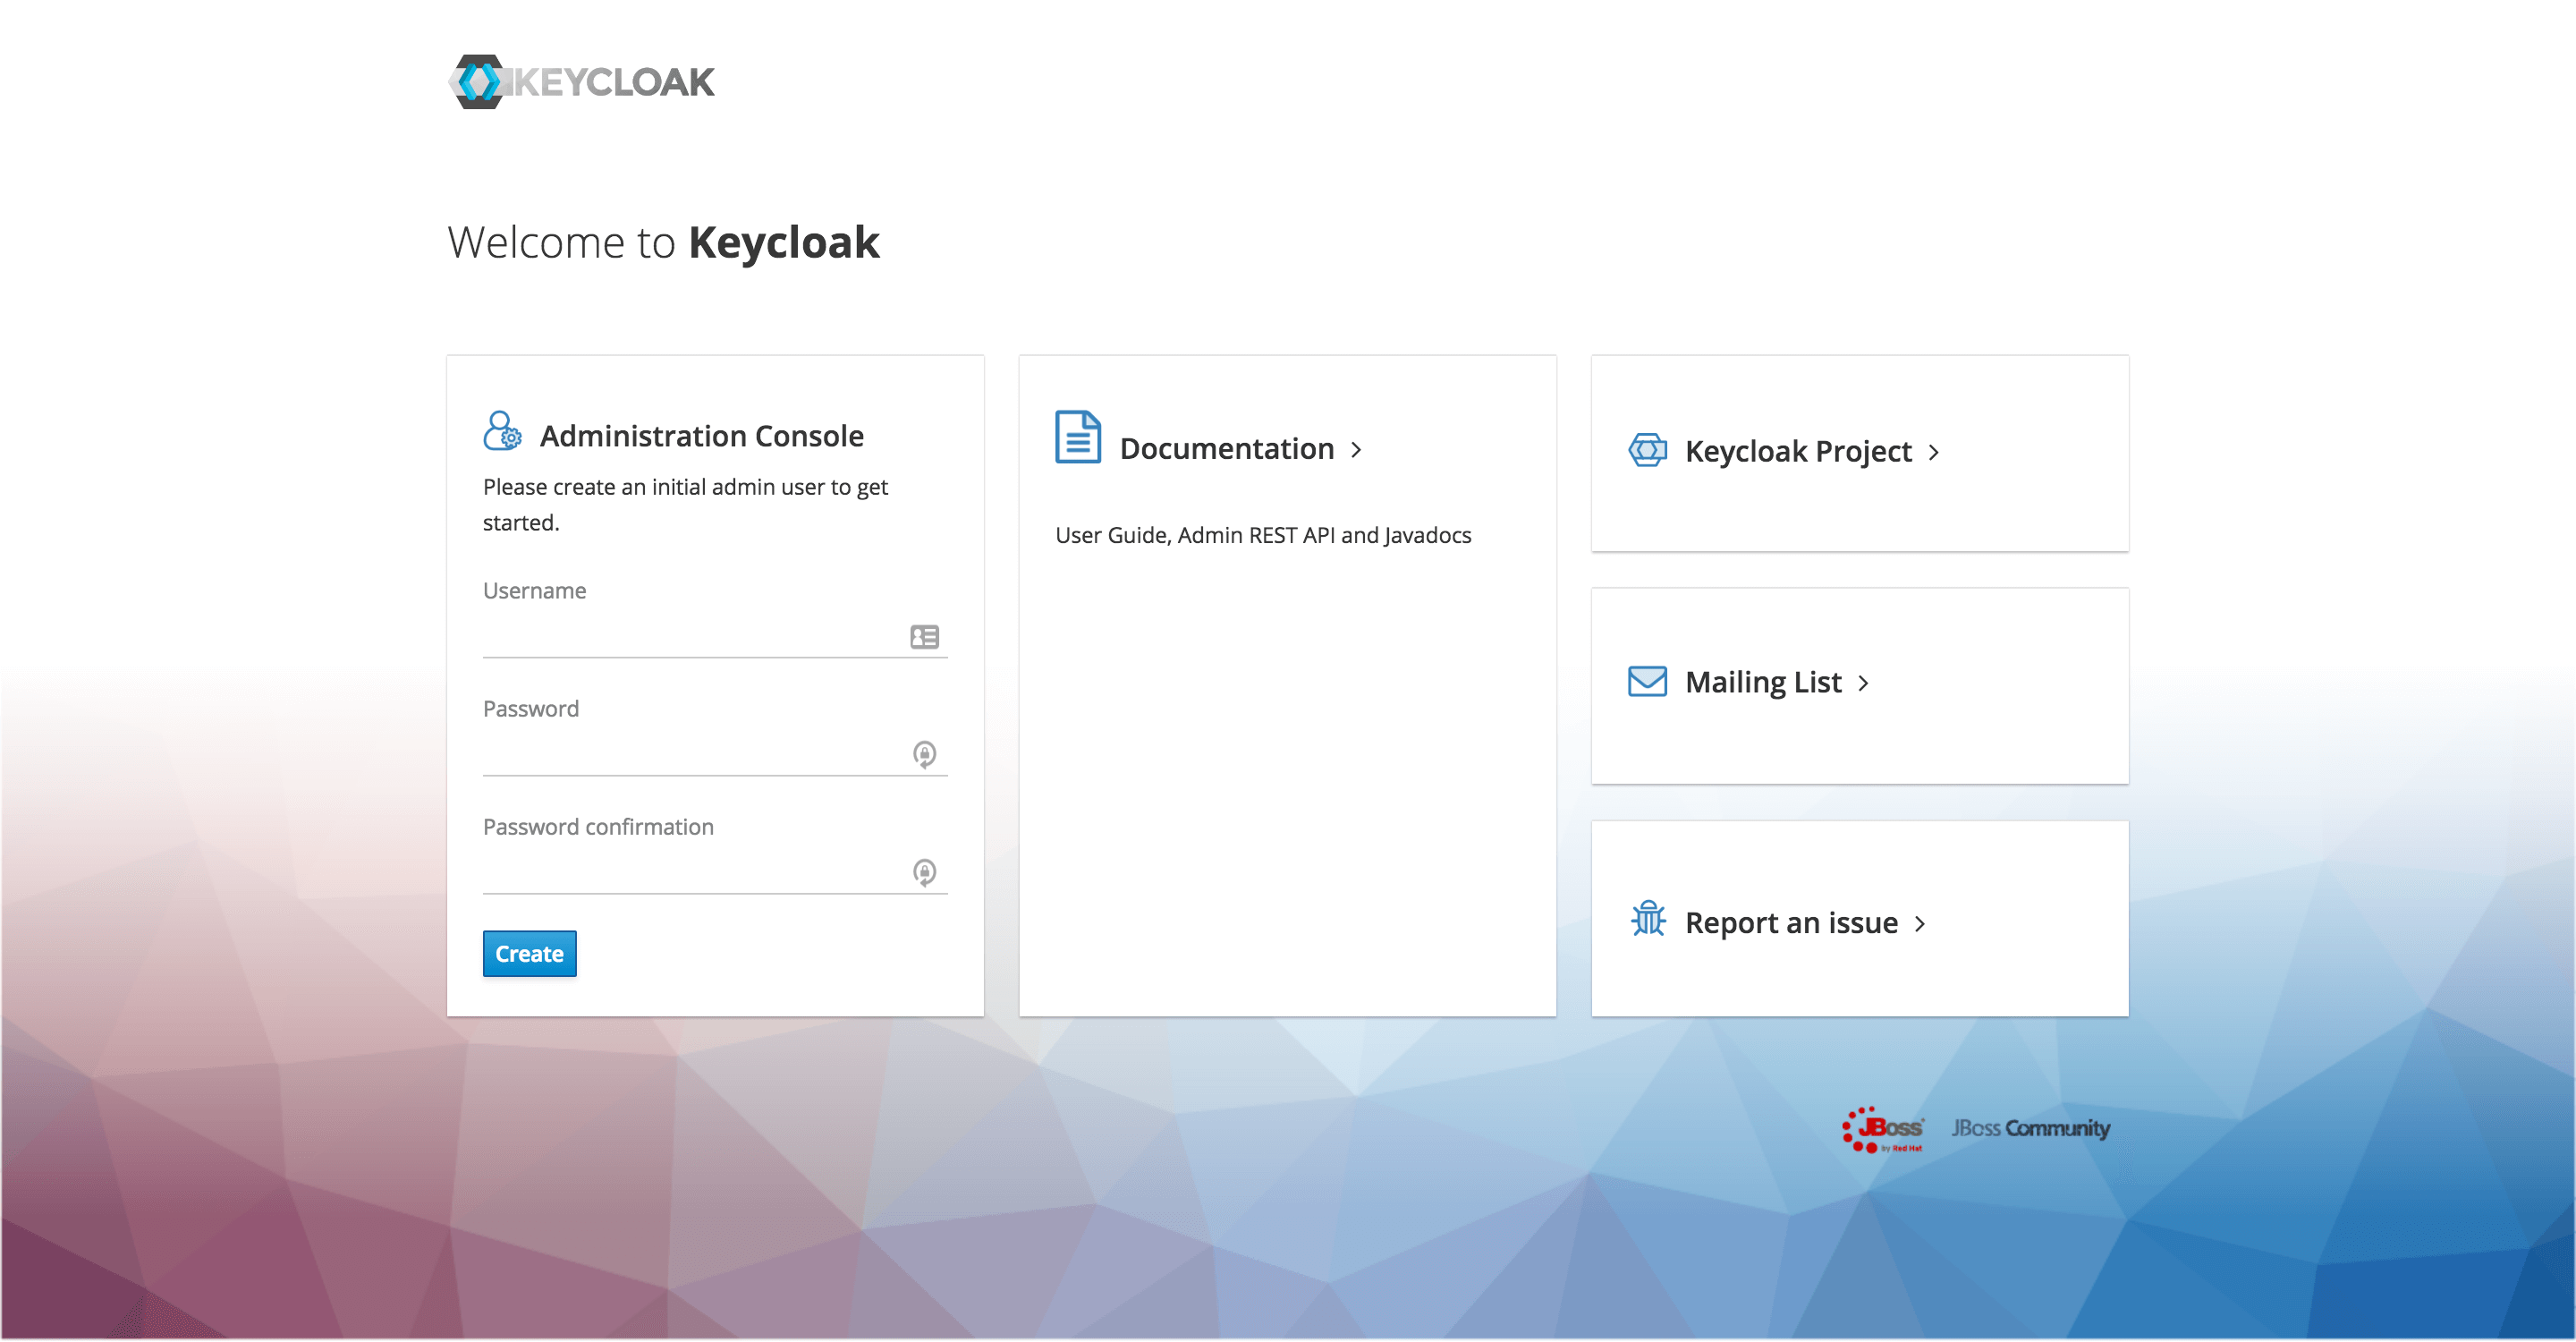
When we access the Keycloak server for the first time at http://localhost:8180/auth, we can see a screen where we can create an administrator user.
We need to have an admin account to log into the Admin Console and start creating realms, roles, users and clients.
In case you are running Keycloak from a Docker image, but you have not defined an admin account already as we have done above, you can do so from the Terminal:
docker exec <CONTAINER> keycloak/bin/add-user-keycloak.sh -u <USERNAME> -p <PASSWORD>To load the user, you also need to restart the server:
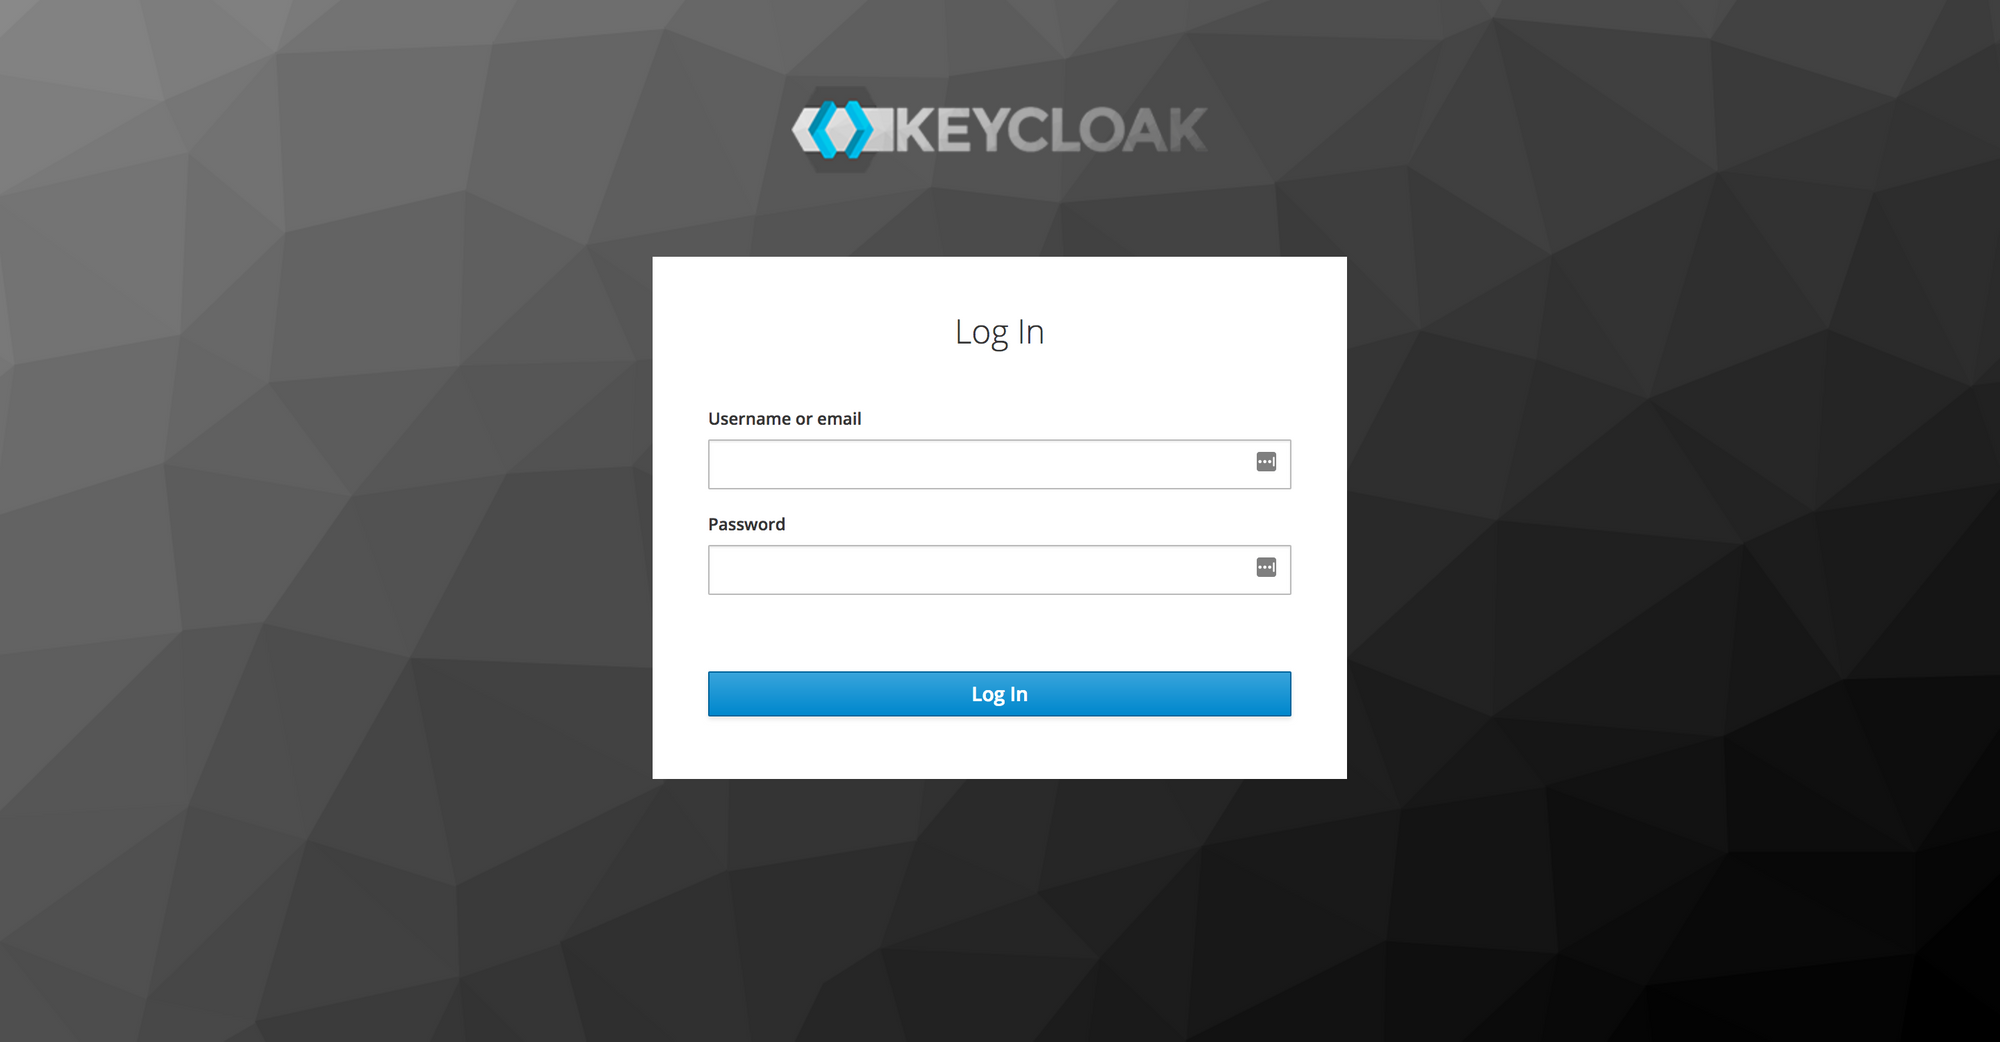
docker restart <CONTAINER>After creating an admin account, let's click the Administration Console link to go to http://localhost:8180/auth/admin and log into the Keycloak Admin console with the username and password that we have just chosen.
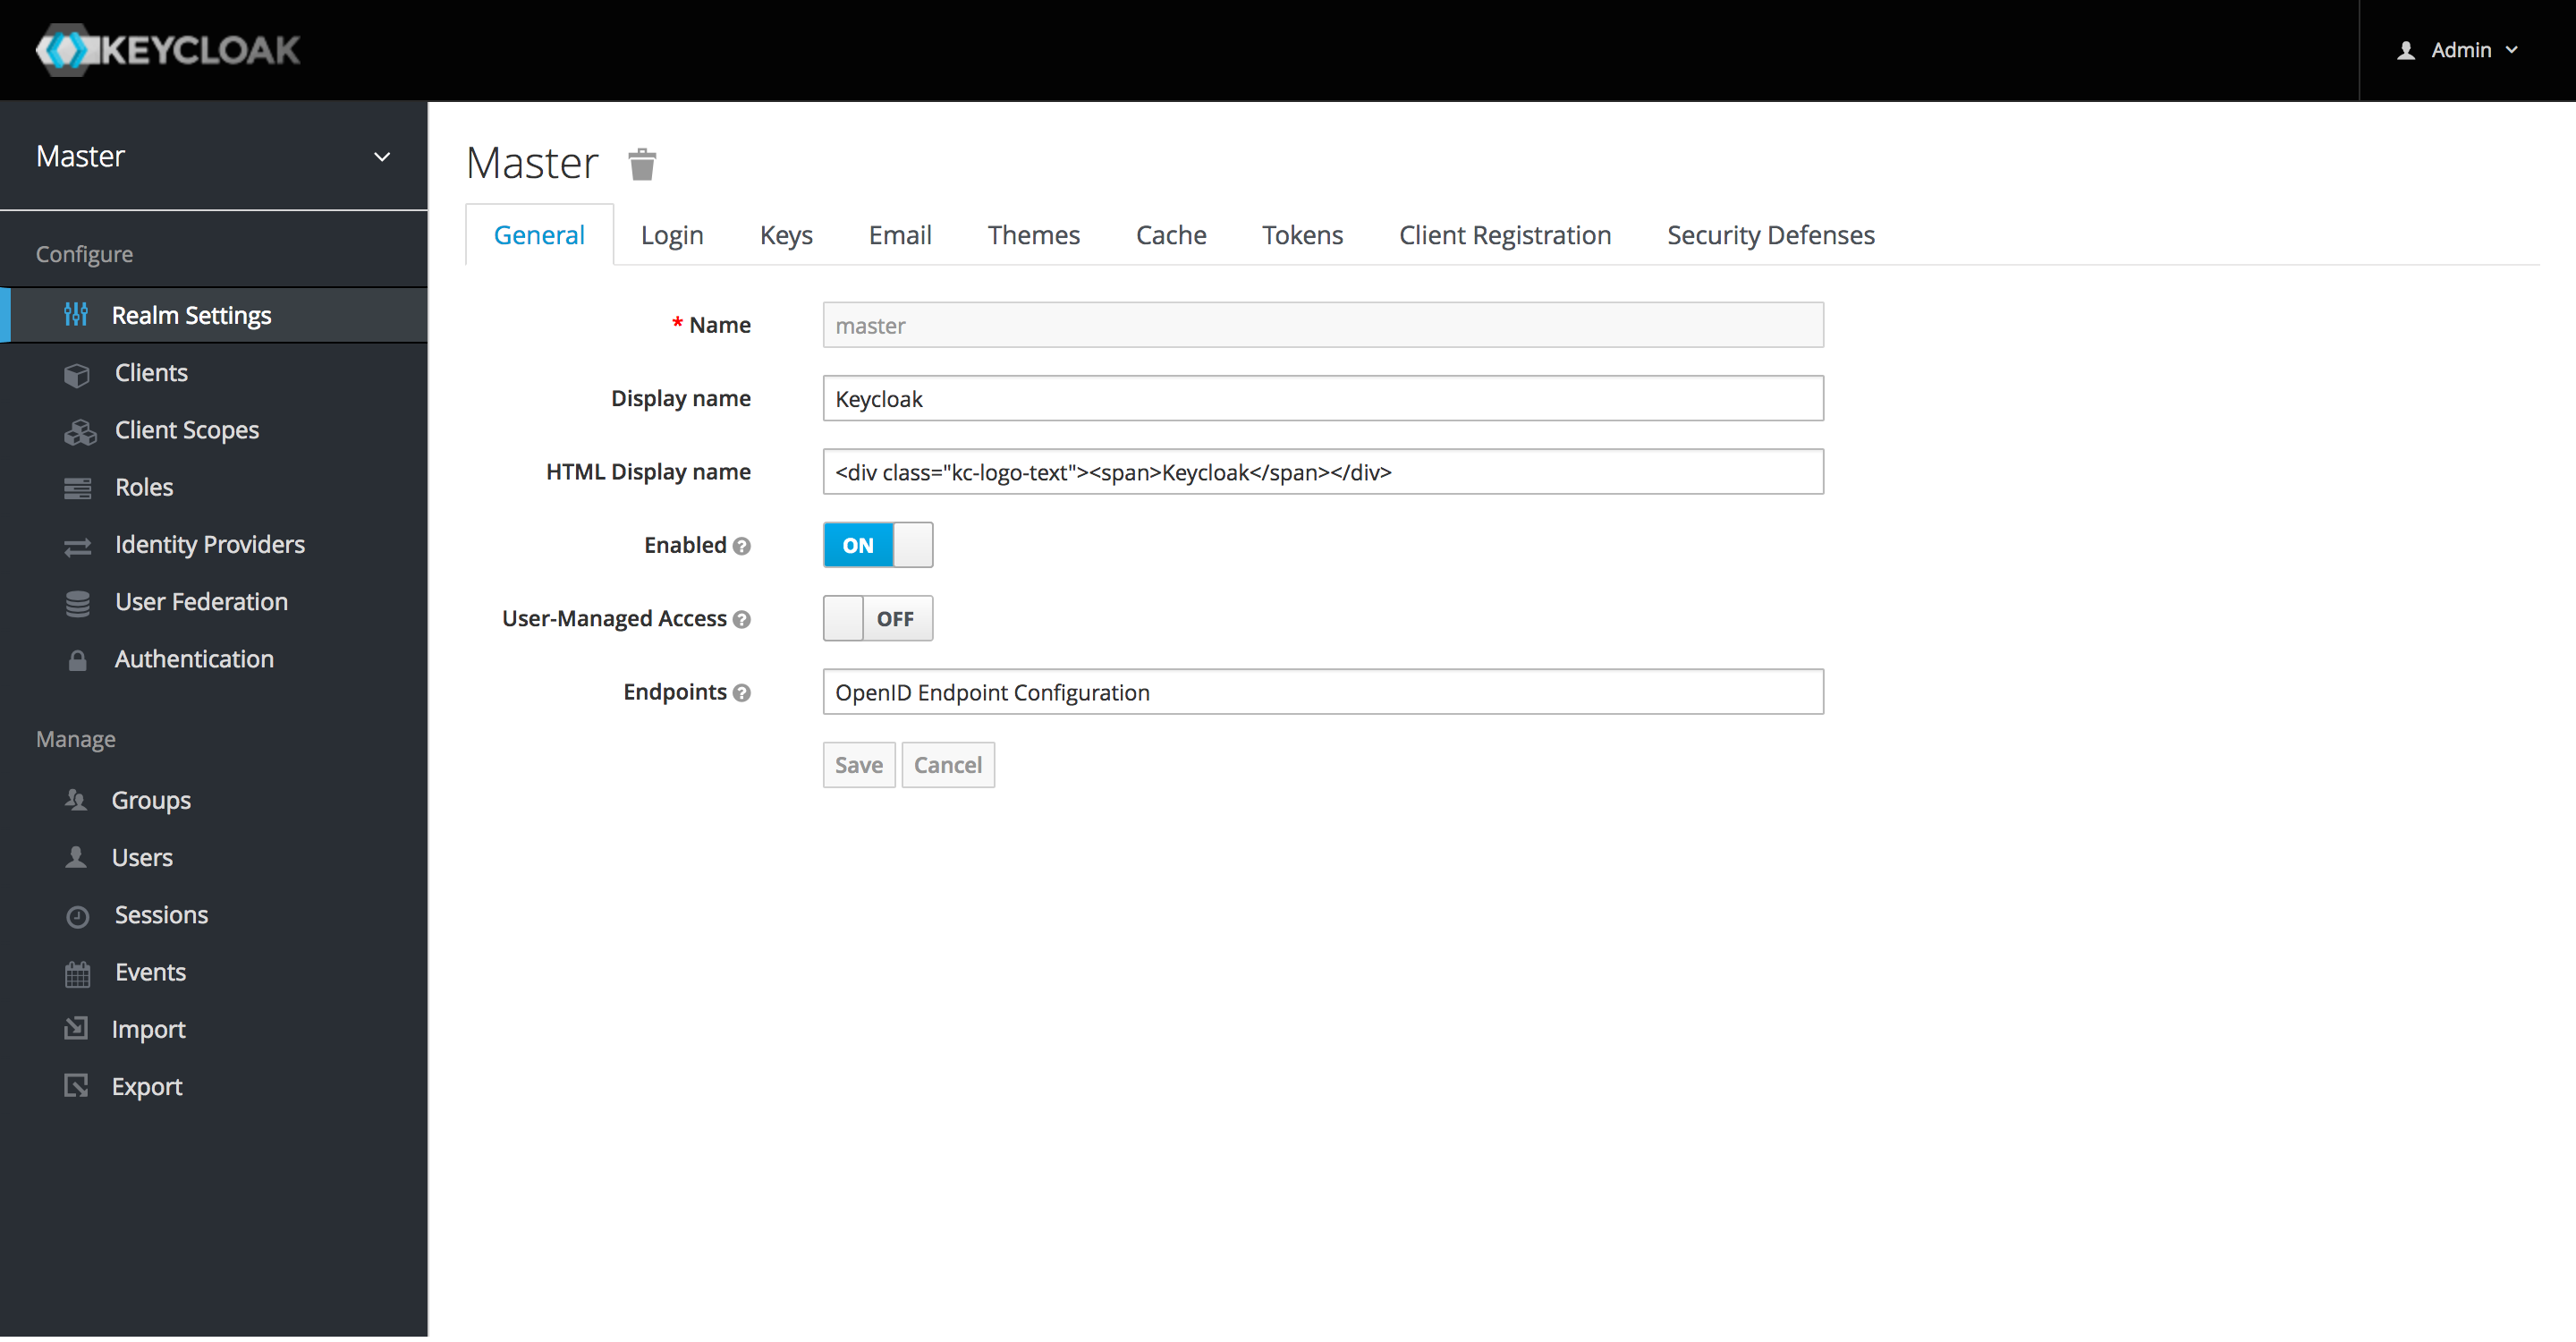
We have finally got access to the Keycloak Admin Console, great!
Conclusion
This article was an introduction to Keycloak and the new series of posts about it. We have briefly talked about what it is and which are the main features that we'll be using throughout this series. Then, we downloaded, installed and started the Keycloak server. Finally, we created an admin user and got access to the Admin Console.
In the next article, we'll go through a basic configuration of Keycloak for authentication and authorization.
Last update: 16/05/2020
Keycloak Series
- Introducing Keycloak for Identity and Access Management
- Keycloak Basic Configuration for Authentication and Authorisation
- Keycloak Authentication Flows, SSO Protocols and Client Configuration
Keycloak with Spring Series
- Securing a Spring Boot Application with Keycloak - A First Look
- Spring Security and Keycloak to Secure a Spring Boot Application - A First Look
If you're interested in cloud native development with Spring Boot and Kubernetes, check out my book Cloud Native Spring in Action.