Local Development with Spring Cloud AWS, Floci, and Arconia Dev Services
Run Spring Cloud AWS applications locally with Floci and Arconia Dev Services: a single dependency, fully open-source, no LocalStack token.

Do you need to consume an S3 bucket from your application? Is your event-driven architecture based on SQS? Are you deploying your Spring Boot application on AWS?
Spring Cloud AWS integrates Java applications a wide range of AWS services. In production, you get everything you'd expect from an enterprise integration. Local development is another story.
Do you point your application at a real cloud account, with the latency and cost that implies? Or do you reach for a local emulator and the configuration tax that comes with it? Either way, the path between git clone and a working developer workflow is longer than it should be.
This article shows how to shorten it. We'll use:
- Floci, an AWS emulator that is extremely performant and fully open source;
- Arconia, which provides a Floci Dev Service that provisions and configures a Floci instance during development and testing without any extra code or configuration.
We'll use S3 as the concrete example, but the same pattern applies to every Spring Cloud AWS integration.
Floci
Floci is an open-source AWS emulator built with Quarkus and compiled with GraalVM, which keeps memory consumption and startup time impressively low: around 13 MiB idle and 24 ms to start. It emulates around 45 AWS services, including S3, DynamoDB, SQS, Lambda, RDS, and more.
The project was created by Hector Ventura and has seen strong adoption in the few months since its first release. Floci is MIT-licensed, requires no token or sign-up, and is a drop-in replacement for LocalStack (until recently the most popular open-source AWS emulator).
In March 2026, the original open-source LocalStack project was archived (see announcement) and is now read-only, marking the end of the OSS project. Its successor is a unified commercial image that requires an authentication token: every developer and every CI run needs a registered account, and the free tier is restricted to non-commercial use.
Floci was introduced shortly after that announcement, providing an actively maintained, open-source alternative that can be adopted with almost no changes to existing projects.
You can run Floci via Docker Compose or the official Testcontainers module, but neither delivers the best developer experience for Spring Boot. Arconia offers a Floci Dev Service as a better alternative. The pitch is simple: add a single dependency to your Spring Cloud AWS project, and you get a fully managed Floci instance whenever you run or test your application: no configuration, no code changes.
In the next section, I'll show you how that works.
Quick Start
Let's build a Spring Boot application with Spring Cloud AWS and Floci as the AWS emulator for local development and testing. The entire system will run on your local machine based on open-source software. No subscription or cloud service will be needed.
1. Project Setup
For this example, I'll use Spring Boot 4.0, Spring Cloud AWS 4.0, Gradle, and Java 25. Here's how the dependencies section of your build.gradle file should look:
dependencies {
    implementation 'org.springframework.boot:spring-boot-starter-webmvc'

    implementation 'io.awspring.cloud:spring-cloud-aws-starter-s3'

    testAndDevelopmentOnly 'io.arconia:arconia-dev-services-floci'

    testImplementation "org.springframework.boot:spring-boot-starter-webmvc-test"
    testRuntimeOnly 'org.junit.platform:junit-platform-launcher'
}

dependencyManagement {
    imports {
        mavenBom "io.arconia:arconia-bom:0.27.1"
        mavenBom "io.awspring.cloud:spring-cloud-aws-dependencies:4.0.2"
    }
}
The key dependencies are:
io.awspring.cloud:spring-cloud-aws-starter-s3: Spring Cloud AWS module that provides a Spring Boot integration with S3.io.arconia:arconia-dev-services-floci: Arconia Dev Services offers zero-code, zero-config integration with Floci, providing a complete AWS emulator right in your development environment.
2. Defining the Domain Model
For this example, we'll work with scrolls, inspired by Philipp Pullman's His Dark Materials. Go ahead and define a Scroll domain model as a Java record.
public record Scroll(String name, String content) {}
3. Managing Data in an S3 Bucket
We can interact with the S3 API using an S3Client (AWS Java SDK) or S3Template (Spring Cloud AWS) object, both of which are auto-configured in our Spring Boot application and ready to use.
Create a ScrollController to define logic for storing and retrieving data from an S3 bucket via an HTTP API served by our Spring Boot application. We'll use an S3Template object for this example.
@RestController
@RequestMapping("/scrolls")
class ScrollController {

    static final String BUCKET = "magisterium-archives";

    private final S3Template s3Template;

    ScrollController(S3Template s3Template) {
        this.s3Template = s3Template;
    }

    @PostMapping
    @ResponseStatus(HttpStatus.CREATED)
    Scroll storeScroll(@RequestBody Scroll scroll) {
        s3Template.store(BUCKET, scroll.name(), scroll);
        return scroll;
    }

    @GetMapping("/{name}")
    Scroll getScroll(@PathVariable String name) {
        return s3Template.read(BUCKET, name, Scroll.class);
    }
}
4. Initializing an S3 Bucket
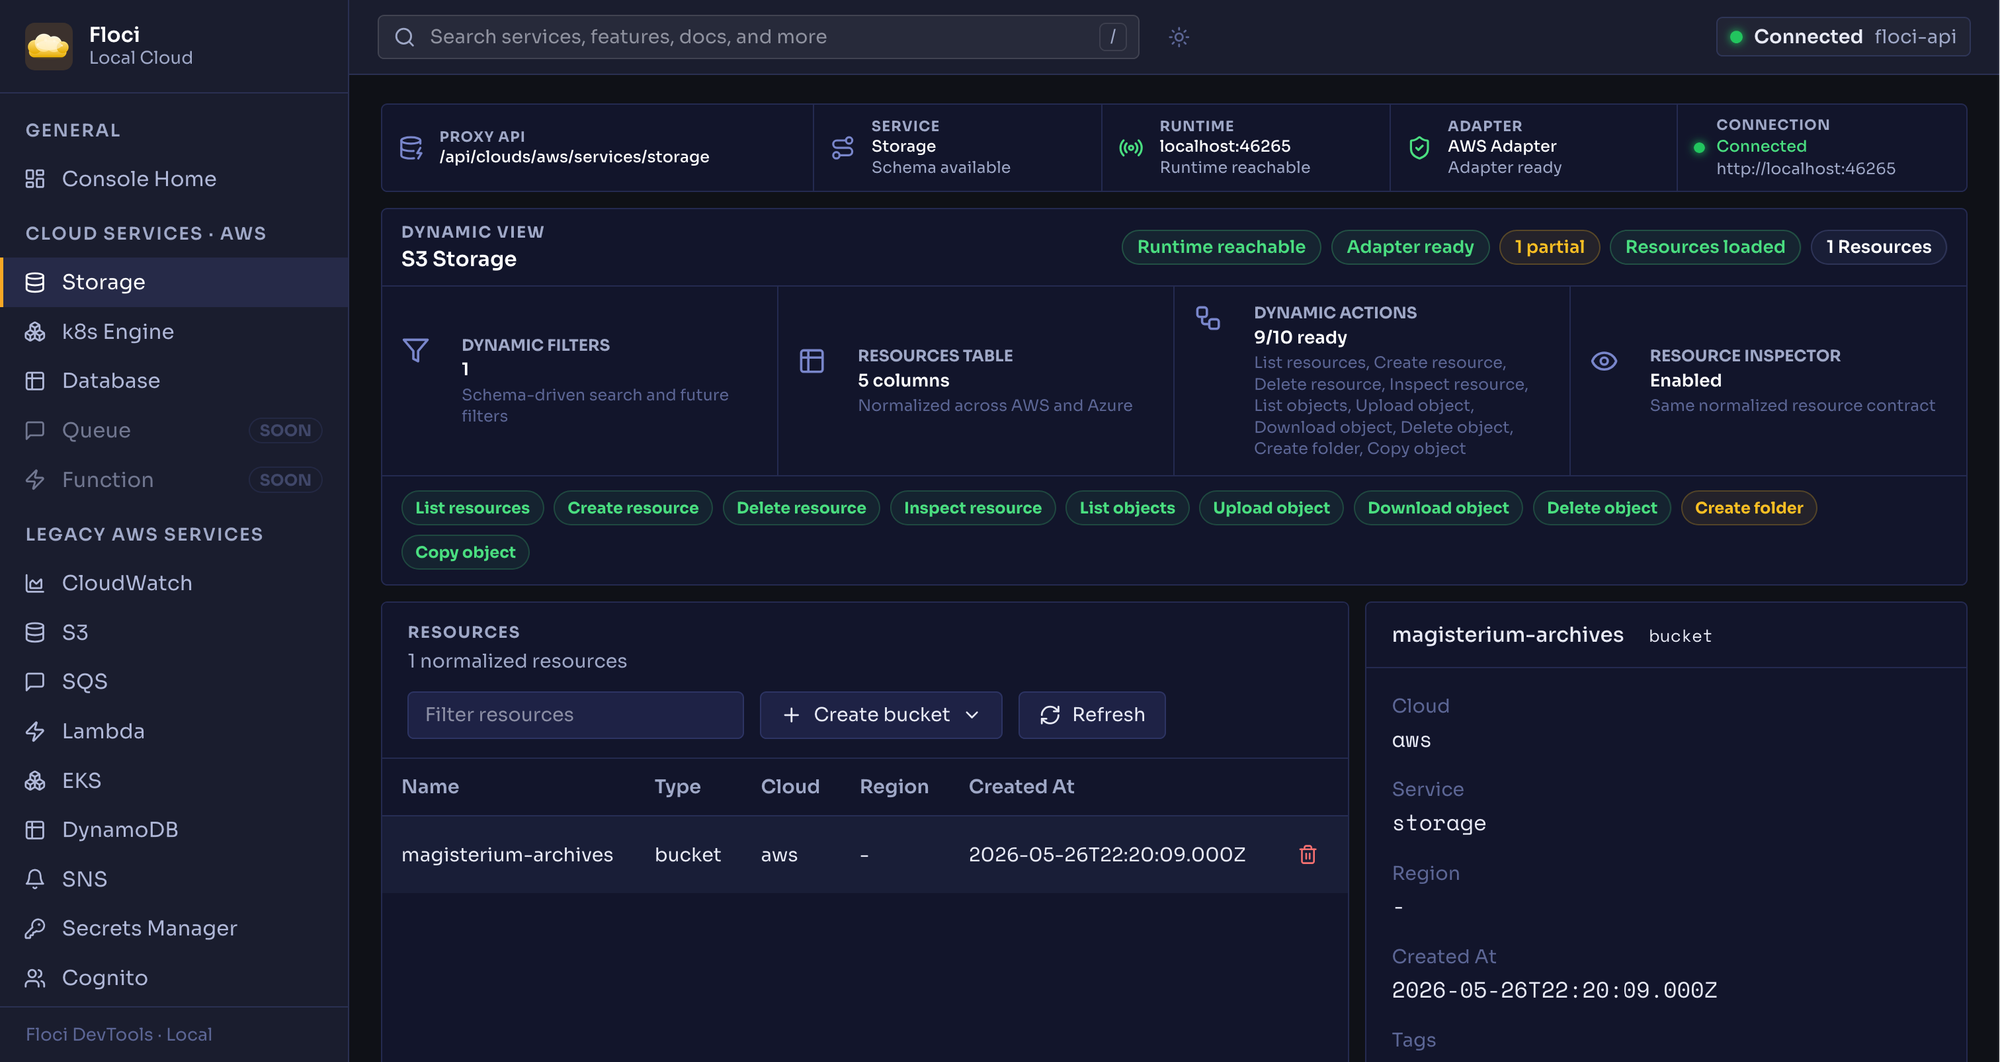
At this point, we haven't created any S3 bucket yet. There are a few ways to do that. For example, we can create a new bucket programmatically using the auto-configured S3Client object. Let's do that at startup time in an AwsResourceInitializer component.
@Component
class AwsResourceInitializer {

    private final S3Client s3Client;

    AwsResourceInitializer(S3Client s3Client) {
        this.s3Client = s3Client;
    }

    @EventListener(ApplicationReadyEvent.class)
    void createResources() {
        createBucketIfMissing(ScrollController.BUCKET);
    }

    private void createBucketIfMissing(String bucket) {
        try {
            s3Client.headBucket(r -> r.bucket(bucket));
        } catch (NoSuchBucketException e) {
            s3Client.createBucket(r -> r.bucket(bucket));
        }
    }
}
When the Spring Boot application starts up, our event listener checks whether an S3 bucket named magisterium-archives already exists. If not, it will create one.
5. Running the Application
It's time to see the example in action. First, make sure you have a container runtime available on your machine, such as Podman or Docker, since that's required for the Arconia Dev Services to work. Then, fire up your app using the standard Spring Boot command for Gradle:
./gradlew bootRun
Or, if you prefer using the Arconia CLI:
arconia dev
When you run the application, Arconia Dev Services will automatically start a local Floci instance using Testcontainers and configure the application to connect to it for all the integrations provided by Spring Cloud AWS.
6. Calling the application
Let's verify the application is working as expected. For this example, I'll use httpie, a command-line HTTP client that makes it easy to interact with HTTP APIs.
From a Terminal window, call the /scrolls endpoint to store our first scroll to an S3 bucket:
http :8080/scrolls name="panserbjorn-dust" content="Panserbjørne armor gathers Dust."
Next, you can verify that the data has been correctly stored in the S3 bucket by trying to retrieve it:
http :8080/scrolls/panserbjorn-dust
7. Integration testing
Let's not forget about testing. Integration tests are crucial for ensuring your application works correctly with any integration point. Arconia ensures that the Dev Services are available during tests as well, all without any extra configuration.
As an example, here's a simple integration test for our application:
@SpringBootTest(webEnvironment = WebEnvironment.RANDOM_PORT)
@AutoConfigureRestTestClient
class ApplicationTests {

    @Autowired
    private RestTestClient restTestClient;

    @Test
    void storeAndReadScroll() {
        var scroll = new Scroll("panserbjorn-dust",
            "Panserbjørne armor gathers Dust.");

        restTestClient.post().uri("/scrolls").body(scroll).exchange()
            .expectStatus().isCreated();

        restTestClient.get().uri("/scrolls/panserbjorn-dust").exchange()
            .expectStatus().isOk()
            .expectBody(Scroll.class)
            .value(s -> assertThat(s.content())
                .isEqualTo("Panserbjørne armor gathers Dust."));
    }
}
Under the hood, Arconia will start a Floci container for the test context, and Spring Cloud AWS will configure the AWS integrations to connect to it. Once the tests complete their execution, the container will be automatically stopped and removed.
You can run the tests using Gradle:
./gradlew test
Or, if you prefer using the Arconia CLI:
arconia test
Bonus: Bootstrapping via Floci Init Hooks
Instead of creating S3 buckets (or any other AWS service) programmatically using the S3Client API, you could use the aws CLI.
Floci supports initialization hooks that can be leveraged to "seed resources, configure state, or clean up after a run". Let's use an initialization hook to create an S3 bucket using the aws CLI. You can place the script in a new src/main/resources/floci/init.sh file in your application project.
#!/bin/sh
aws s3 mb s3://magisterium-archives
We want the script to run when Floci is ready to serve, as defined by the /etc/floci/init/ready.d init hook. That's the path inside the container where we need to mount our init script. Arconia Dev Services makes it straightforward to do so via Resource Mappings configured as properties. We also need to change the image used for the Floci Dev Service to the variant including the aws CLI (floci/floci:1.5.19-compat) because the default (floci/floci) doesn't have it available.
arconia:
  dev:
    services:
      floci:
        image-name: floci/floci:1.5.19-compat
        resources:
          - source-path: classpath:floci/init.sh
            container-path: /etc/floci/init/ready.d/init.sh
/etc/localstack/init/ready.d, as they're fully supported in Floci.Now you can remove the previously created AwsResourceInitializer class and run the application again; the outcome should be the same.
Conclusion
In this article, I showed you how to integrate a Spring Cloud AWS application with Floci for local AWS development.
Building on the out-of-the-box AWS SDK integration in Spring Cloud AWS and the Floci Testcontainers module, I covered how Arconia provisions and connects a Floci instance to your application without changing a single line of code, automatically handling endpoint, credentials, region, and path-style addressing.
Furthermore, the Arconia Floci Dev Service offers a superior development and testing experience, providing a Floci instance without any extra code or configuration.
Are you using Spring Cloud AWS? What's your current strategy for local development? Have you tried Floci? I'd love to hear from you! Share your experience on Bluesky or LinkedIn. And if you'd like to contribute to the Arconia framework, feel free to reach out on our GitHub project!
First version published on May 27th, 2026.