Spring Native: Getting started with GraalVM native images
The Spring Native project provides support for packaging Spring applications as native images using GraalVM, with fast startup times and optimized memory usage.


The Spring Native project provides support for packaging Spring applications as native images using GraalVM.
Compared to JVM executables, native images have faster startup times (< 100 ms) and lower memory consumption. However, building a native image requires more time than a JVM-based one.
The project is still in beta but already supports most of the Spring portfolio modules, including Spring Framework, Spring Boot, Spring Security, and Spring Cloud.
Its features make it a good fit for building serverless applications with Spring Cloud Function and deploying them to a platform like Azure Functions, AWS Lambda, or Knative.
This article will guide you through the building of a Spring Boot application compiled to a native executable with Spring Native. You can find the source code on GitHub.
Bootstrapping an application with Spring Native
You can add Spring Native to your application when bootstrapping the project from Spring Initializr.
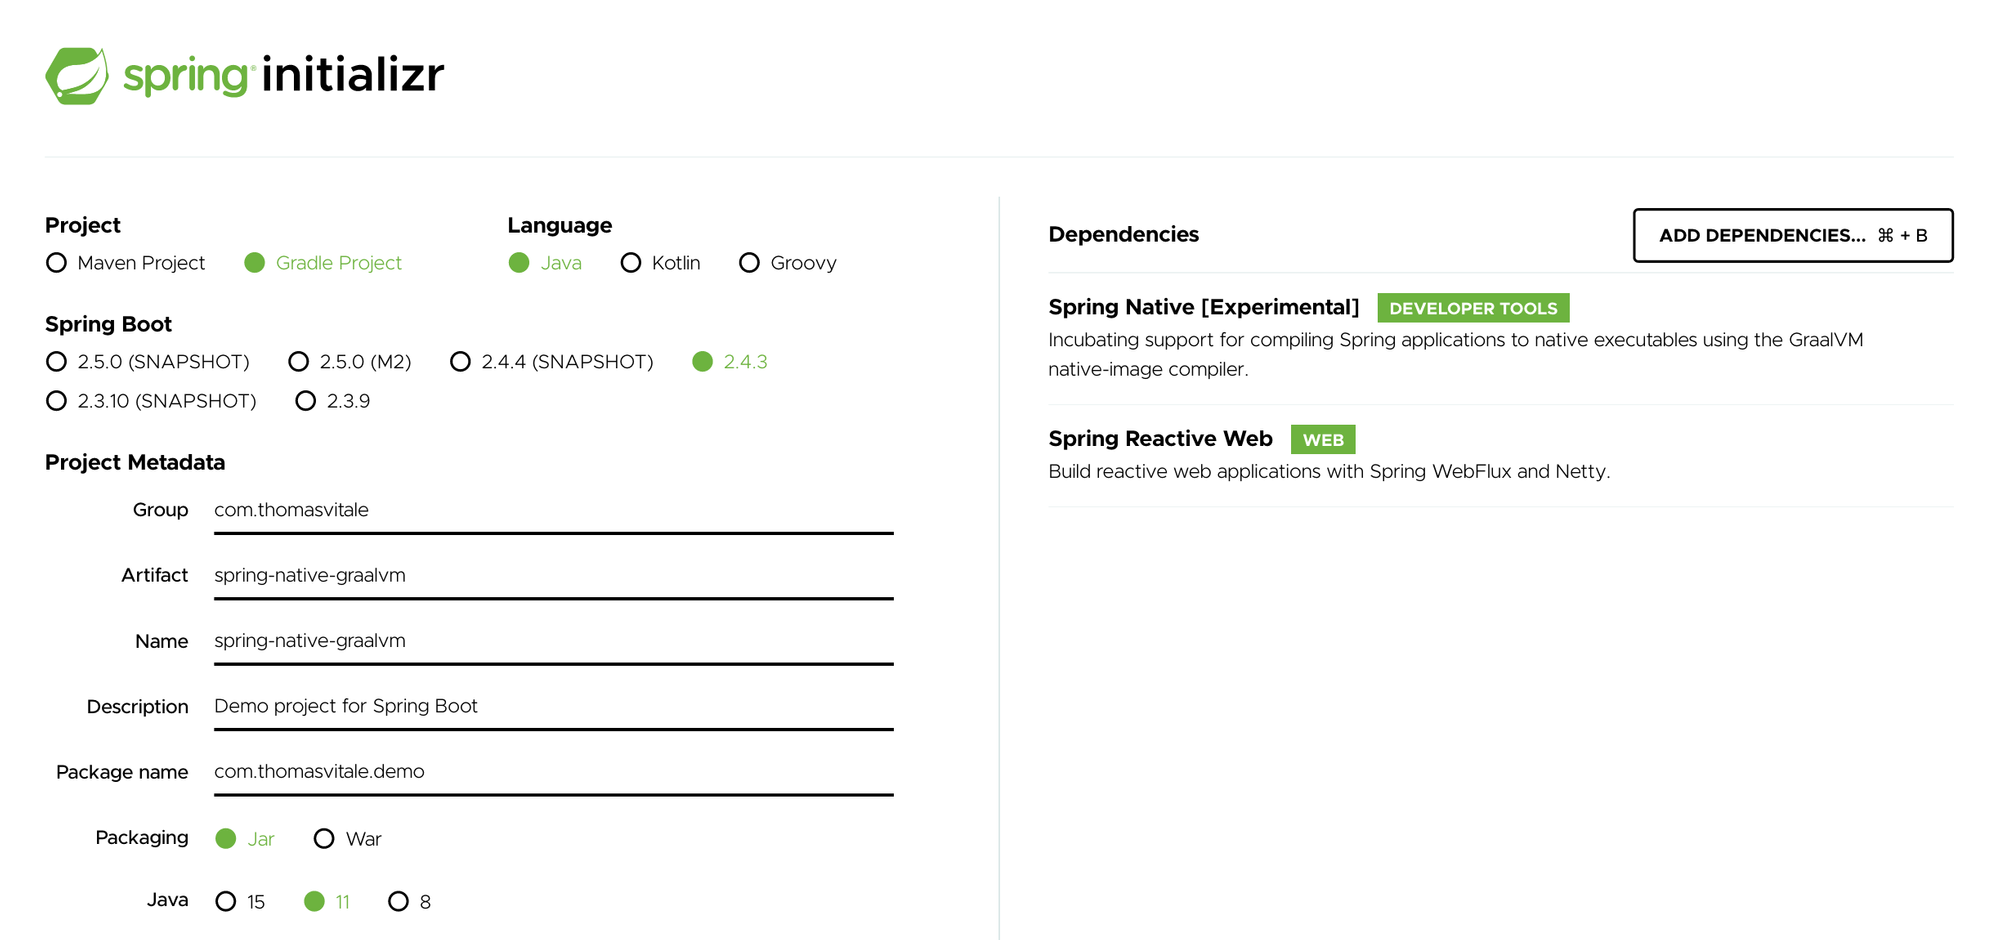
The generated project will contain a dependency on the Spring Native project and the Spring AOT plugin used to compile your application source code to native executable while improving compatibility and footprint.
The build.gradle file looks as follows.
plugins {
	id 'org.springframework.boot' version '2.4.3'
	id 'io.spring.dependency-management' version '1.0.11.RELEASE'
	id 'java'
	id 'org.springframework.experimental.aot' version '0.9.0'
}

group = 'com.thomasvitale'
version = '0.0.1-SNAPSHOT'
sourceCompatibility = '11'

repositories {
	maven { url 'https://repo.spring.io/release' }
	mavenCentral()
}

dependencies {
	implementation 'org.springframework.boot:spring-boot-starter-webflux'
	testImplementation 'org.springframework.boot:spring-boot-starter-test'
	testImplementation 'io.projectreactor:reactor-test'
}

test {
	useJUnitPlatform()
}

bootBuildImage {
	builder = 'paketobuildpacks/builder:tiny'
	environment = ['BP_NATIVE_IMAGE': 'true']
}
You can build a native image out of your application using the familiar Spring Boot plugin (Gradle or Maven) and its embedded Cloud Native Buildpacks support. The choice between JVM and GraalVM images is defined by the BP_NATIVE_IMAGE property in the bootBuildImage task, which comes pre-configured when you use Spring Initialzr.
Defining a REST endpoint with Spring WebFlux
Let's define a REST endpoint with Spring WebFlux so that we can test the application.
In the SpringNativeGraalvmApplication class generated by the Initializr, you can add a REST endpoint using a router function or a @RestController-annotated class. Let's go with the former option.
package com.thomasvitale.demo;

import reactor.core.publisher.Mono;

import org.springframework.boot.SpringApplication;
import org.springframework.boot.autoconfigure.SpringBootApplication;
import org.springframework.context.annotation.Bean;
import org.springframework.web.reactive.function.server.RouterFunction;
import org.springframework.web.reactive.function.server.ServerResponse;

import static org.springframework.web.reactive.function.server.RouterFunctions.route;
import static org.springframework.web.reactive.function.server.ServerResponse.ok;

@SpringBootApplication
public class SpringNativeGraalvmApplication {

	public static void main(String[] args) {
		SpringApplication.run(SpringNativeGraalvmApplication.class, args);
	}

	@Bean
	RouterFunction<ServerResponse> routes() {
		return route()
				.GET("/", request -> ok().body(Mono.just("Spring Native and Beyond!"), String.class))
				.build();
	}
}
Then, in the SpringNativeGraalvmApplicationTests class generated by the Initializr, you can add an integration test for the REST endpoint.
package com.thomasvitale.demo;

import org.junit.jupiter.api.Test;

import org.springframework.beans.factory.annotation.Autowired;
import org.springframework.boot.test.autoconfigure.web.reactive.AutoConfigureWebTestClient;
import org.springframework.boot.test.context.SpringBootTest;
import org.springframework.test.web.reactive.server.WebTestClient;

@SpringBootTest(webEnvironment = SpringBootTest.WebEnvironment.RANDOM_PORT)
@AutoConfigureWebTestClient
class SpringNativeGraalvmApplicationTests {

	@Autowired
	private WebTestClient webClient;

	@Test
	void whenGetBooksThenReturn() {
		webClient
				.get().uri("/")
				.exchange()
				.expectStatus().is2xxSuccessful()
				.expectBody(String.class).isEqualTo("Spring Native and Beyond!");
	}
}
Running the application as an executable JAR
The Spring Native dependency in your project will optimize the application startup time and memory consumption, thanks to the Spring AOT plugin, even when running it as an executable JAR. Let's try it out.
First, open a Terminal window, navigate to the root folder of your project, and run the following command.
$ ./gradlew bootRun
The application will start up faster than its corresponding version without Spring AOT. Let's try calling the REST endpoint.
$ curl http://localhost:8080
Spring Native and Beyond!
Running the application as a native image
Now, let's try building and running a native image leveraging Spring Native with GraalVM.
Building a native image is very straightforward with the Spring Boot plugin. Make sure your Docker Engine is running, and then execute the following command. Be aware that it will take a few minutes, very much depending on your laptop CPU and memory characteristics.
$ ./gradlew bootBuildImage
The result will be a spring-native-graalvm:0.0.1-SNAPSHOT image that you can run with Docker.
$ docker run --name spring-native-graalvm -p 8080:8080 spring-native-graalvm:0.0.1-SNAPSHOT
Applications with Spring Native typically start in less than 100 ms, depending on your machine's available resources.

Once again, let's call the REST endpoint to ensure the application is still working when run as a native image.
$ curl http://localhost:8080
Spring Native and Beyond!
It does. Good job!
Conclusion
In this article, I went through how to quickly bootstrap a Spring Boot application and compile it to a native executable using Spring Native and GraalVM.
For more information on the Spring Native project and to follow its roadmap, you can refer to the official documentation.
If you're interested in cloud native development with Spring Boot and Kubernetes, check out my book Cloud Native Spring in Action.